Drywall Contractor Fairfax County VA| Drywall Repair; Drywall Installation; Painter in Herndon Reston

Repairing Drywall Surfaces

Repairing Drywall Surfaces

This is an excerpt from the Book called “Step-By-Step Household Repairs“. Continue reading to learn more about Repairing Drywall Surfaces , thanks to the author.

Setting Popped Nails 

  1. When you spot a popped nail, drive a 1 ½ inch ring-shank nail about 1 ½ inches above it, pressing in on the drywall panel as you do. Then create a “dimple” with your last hammer blow to set the nail just below the surface (but don’t break through the drywall’s thick paper facing). Now either remove the popped nail or sink it well into the surface with a nail set.
  2. Fill the dimple and the old nail hole with joint compound, feathering it into the surrounding surface with a taping knife. Apply as many coats as necessary to make the surface smooth. Let the compound dry between coats. Finish and retexture the repair following the instructions.

Mending Cracks and Bubbled Tape 

  1. You can repair minor cracks simply by filling the voids with compound. But if the joint tape curls up from the drywall surface, first use a utility knife to remove all loose tape. Be careful you don’t remove the sound-fitting tape.
  2. cut a piece of joint tape to fit. Apply a bed of joint compound to the wall or ceiling, press the tape in place, and apply another coat of compound. Let dry, then add another layer of compound, then another if necessary. Feather each coat into the coat into the surrounding surface to help hide the seam. When the surface is smooth, finish the repair as instructed.
Mending Cracks and Bubbled Tape

Patching Small Holes 

  1. Filling nail-size holes rates by far as the easiest drywall repair you can make. Use a putty knife to fill the hole with spackling compound allowing some excess to “mound” above the surface. When the compound dries lightly sand away the excess to leave a smooth surface.
  2. An even easier procedure, although it is somewhat unorthodox, is to dispense with the spackling compound and the sanding, and simply fill small holes with white toothpaste. Believe it or not, it really works. 

Patching Medium-Size Holes 

  1. Mending medium-size holes requires that you provide backing to which the joint compound can adhere. Fashion this backing from a scrap of perforated hardboard cut slightly larger than the hole, but small enough that you can maneuver it through the wall. To hold the scrap firmly against the back side of the wall, run a length of thin wire through a couple of the perforations as shown. Now, using joint compound, butter the perimeter of the backing as shown.
  2. Insert the hardboard backing into the hole and center it behind the opening. When dry, the joint compound will help the backing cling to the back of the drywall. To hold the backing in place during the interim, bridge the opening with a pencil and twist the wire ends together until the wire is taut. When the compound dries, clip the wire and remove it.
  3. Now it’s simply a matter of filling the recess with joint compound. Because the compound shrinks as it dries, you’ll have to apply several coats to achieve satisfactory results. Let each coat dry before adding the next. Once you’ve completely filled in the void and don’t see any hairline cracks in the compound, sand the patch lightly and retexture its surface, following the instructions.

If you don’t have any perforated hardboard around the house, try this alternative which uses a scrap of ¼-or 1/2 –inch plywood. Cut the plywood backing as you would the hardboard. Drill two holes in the center of the piece to run the wire through. Now follow through with the remaining steps as they are described above. 

Patching Small Holes
Patching Small Holes 
Finishing and Retexturing the Surface

Patching Large Holes 

  1. After squaring off the area to be repaired cut and remove the damaged drywall. Use a keyhole saw to make the horizontal cuts between the studs, and a sharp utility knife guided by a straightedge for the vertical cuts along the stud centers.
  2. Fashion a like-size drywall patch from scrap drywall. Then cut two lengths of 2×2 to serve as backing supports for the top and bottom edges of the patch. Toenail the 2x2s in place, making sure they’re flush with the edge of the studs. (Make this installation easier by first drilling angled starter holes for the nails.) Now fit the drywall patch into the opening and secure it with 1 ½-inch drywall nails spaced at least 3/8 inch in from the edges. “Dimple” each nailhead.
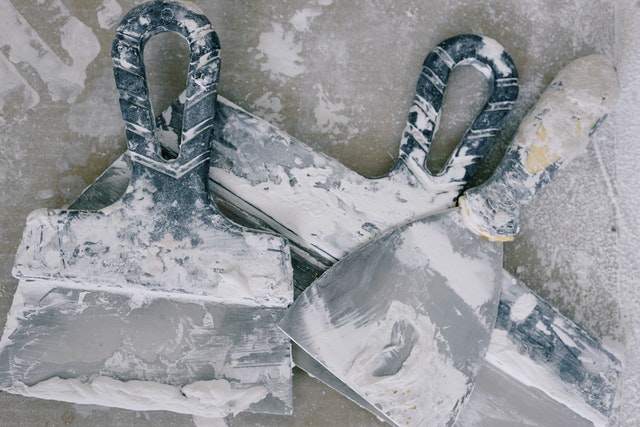
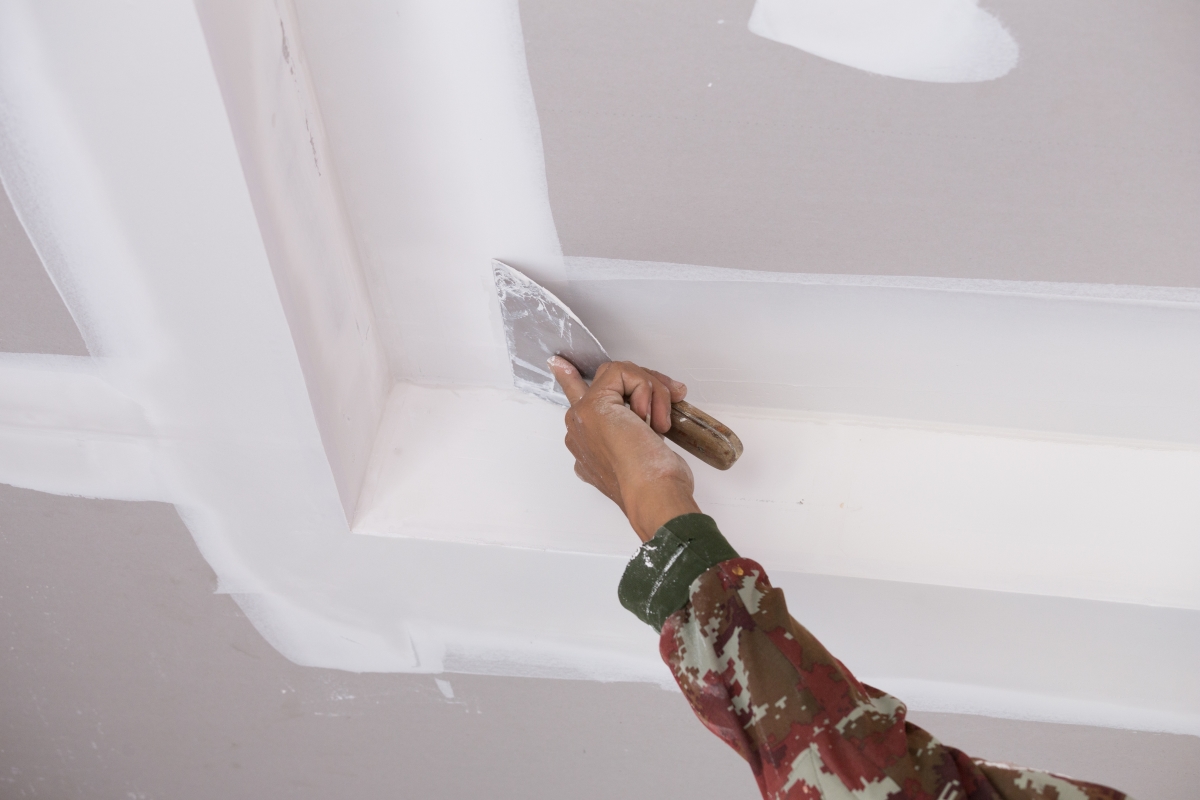
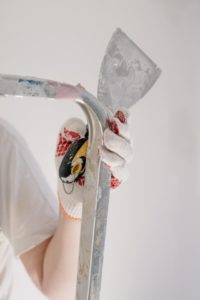
  3. Lay down a bed coal of joint compound around the perimeter of the patch with a 4-inch taping knife held at a 45-degree angle to the wall. Avoid creating too much of a mound. Immediately center an appropriate length of drywall tape over each seam, using your hands to press it in place. Then with the taping knife, embed the tape further into the bed coat, holding one end of the tape secure with your other hand. Follow this with one or more coats of compound, feathering each coat into the surrounding surface and letting it dry thoroughly before applying the next. When the last coat has dried, finish and retextures the patch, following the steps.

Finishing and Retexturing the Surface 

  1. With enough care and patience, you can finish your drywall repairs so they’ll be all but invisible.

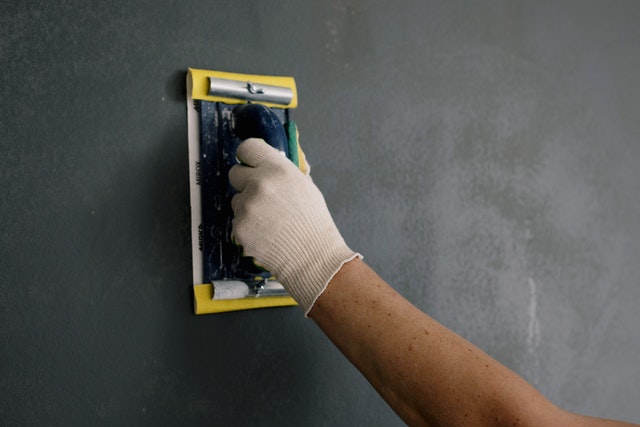
Begin by smoothing the surface of the repair with either 80-or100-grit coated abrasive or dampened sponge. (If you use an abrasive and the repair requires lots of sanding, be sure you wear a painter’s mask to avoid inhaling too much gypsum dust. Also be careful not to sand all the way through the compound and into the tape. After sanding the area, wipe the dust off the surface with a dust cloth.) 

  1. Most drywall surfaces are not glassy smooth. Instead, they have a texture designed to conceal seams, nails, and minor defects in the drywall surface. You can closely duplicate most textures, each in a slightly different way. (If is a good idea to practice on a piece of scrap drywall before attempting to retexture the actual patch.)

You can approximate an “orange peel” texture by watering down some premixed joint compound and dabbing it over your repair with a sponge. 

Repairing Drywall Surfaces

To blend a patch into a sand-textured surface, roll on some texture paint with a carpet-napped paint roller cover. To match an existing texture, apply a layer of drywall compound. Then, using a whisk broom or other stiff-bristled brush, replicate the pattern. If you’re dealing with a travertine finish like the one shown, apply one layer of compound and let it set up slightly. Then, flick more compound onto the surface by using a paintbrush and knock off the high spots by lightly troweling the surface. 

Beaded polystyrene and vermiculite textures on ceilings are hard to match. Although you can rent texturing equipment, your best solution may be to call in professional help to identify the type of finish you have and to duplicate its coarseness.

Get Instant Quote