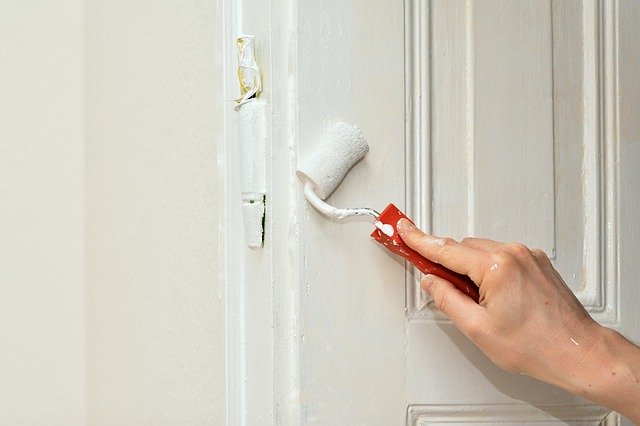
Painting projects can enhance the beauty of your house, enrich the value of your property. Also painting offers an opportunity for DIY Homeowners an interesting weekend project. Sometimes this can be a summer project for the entire family. This article is an excerpt form workbook called “BUILT-INS” by “ROBERT J.SETTICH“.

PAINT
Some woodworking purists may cringe at the idea of painting one of their creations, but in some cases paint is exactly the right choice. Paint works with a wide range of architectural styles, all the way from traditional to contemporary. In addition, the finish can help your built-in integrate itself more successfully with its surroundings, as if it were part of the original structure, instead of a later addition. In part, that’s because paint covers the potential distraction of wood grain and shifts the focus to the overall structure, as well as to melding shapes that assert them-selves with crisp shadow lines.
There are also some extremely practical reasons for choosing paint. For one, allows you to considerably reduce the expense of the built-in by using inexpensive manufactured sheets, such as medium density fibreboard (MDF) and economical lumber, such as poplar, instead of costly veneered panels and furniture-grade hardwoods.
Despite the unifying appearance paint creates on dissimilar surfaces, however, you can’t let improvise a curved sanding block to conform a concave shapes. You can easily shape foam mocking material to match moldings. Material choice be an afterthought. For example, oak will prove a poor choice under paint because its open grain structure will show through the finish.
A second practical factor recommending paint is the fact that it’s easier for a beginner-both in woodworking and in finishing-to achieve a high-quality result. An imprecise joint that would appear glaringly obvious under a clear coat disappears thanks to wood putty and the opacity of the paint. Paint also allows you to easily conceal problems that can show up during the finishing process. For example, if scratches appear after you’ve applied the first coat of primer, it’s no big deal. But the same scratches after a stain application pose a serious problem. Of course, choosing a painted finish doesn’t issue you a license for slipshod workmanship; it simply means you can more easily repair and conceal mistakes.
SANDING CURVES:
When sanding curves. Such as those in crown molding, back up your abrasive with something moderately rigid. Try a manufactured block. A dowel, a short length of rubber hose, a small mailing tube, or something you find around your home or shop. The backing will help the abrasive conform to the curve, smoothing it more quickly and evenly. Trying to work with fingertip pressure alone is tiring and inefficient, and can turn out a surface that’s smooth but uneven.
APPLYING A PAINTED FINISH:
1. Power sanding takes a lot of the drudgery out of the chore, but you should always hand-sand the last pass. I prefer the hard rubber block shown in photo
Which you can purchase from an auto-body finishing supplier. Sanding to 120- or 150-grit is plenty.
2. Carefully inspect the surface, dust it, remove mold and fill any blemishes with wood filler, as shown in photo. I consider water putty far superior to to other products: It dries faster, has a nearly unlimited shelf life, and costs much less. Do not use wood filler when you intend to apply a clear finish. No matter what the package says, the filler won’t accept stain like wood. Same finishers prefer speckling under paint. No matter what you use, slightly overfill the indentation to allow for shrinkage, then sand flush.
3. Dust or vacuum the surface after sanding any filler and apply a coat of primer compatible with you color coat. Since we’re using a latex-based paint here, a 100 present acrylic primer is appropriate, as shown in photo. It also reduces the level of fumes and enables soap-and-water clean-up. After the primer dries, sand lightly to level the primer. If any imperfections come to light, spot-prime them, then reprime the entire project. Sand again and remove the dust.
4. Apply the first color coat, Choose an enamel because it will produce a smooth hard surface. Don’t try to achieve one-coat coverage-that will encourage you to slather on the paint too thickly. Add a conditioner called Floetrol” to latex paint to improve flow-out and minimize brush marks. (For oil-based paint, use penetrol”.) Spread the paint evenly, but don’t over-brush it. After the first coat dries, lightly sand to smooth the surface and raise a “tooth” for the second coat; then remove the dust and apply a second coat.
5. At this point, you can consider the paint job finished or you can add a clear coat, as shown in photo . This final step protects the paint, gives its color greater depth, and can even out its surface sheen. To avoid possible color shifts, choose a clear-coat product that won’t yellow with age. Water-based polyurethane is an excel-lent choice. Make sure this clear coat is com.
“Breaking The Corners”
Means softening the edges slightly with light sanding. Don’t overdo it, though, or you’ll ruin the crispness of your lines. Breaking the corners improves finish adhesion because liquids tend to flow away from sharp junctions, and that could compromise the integrity of paint and film-building clear finishes. To get the service of our professional painter, you can contact Flex Drywall Repair.

