- Home
- About
- Services
- Baseboard And Trim Replacement And Repair Guide
- Cabinet Refinishing and Painting
- Drywall Repair
- Sliding Door Screen Repair
- Sheetrock
- Soundproofing
- Mold Removal and Remediation
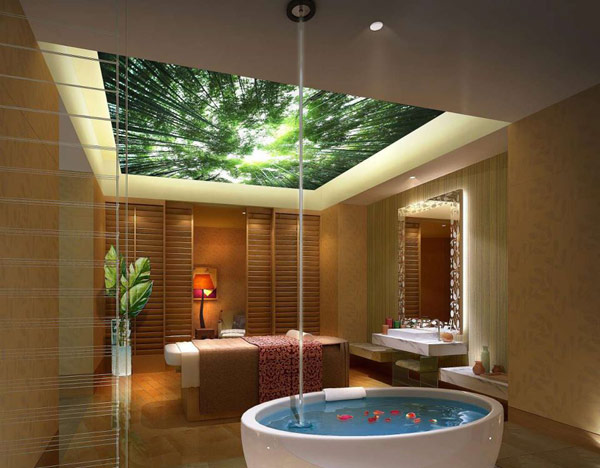
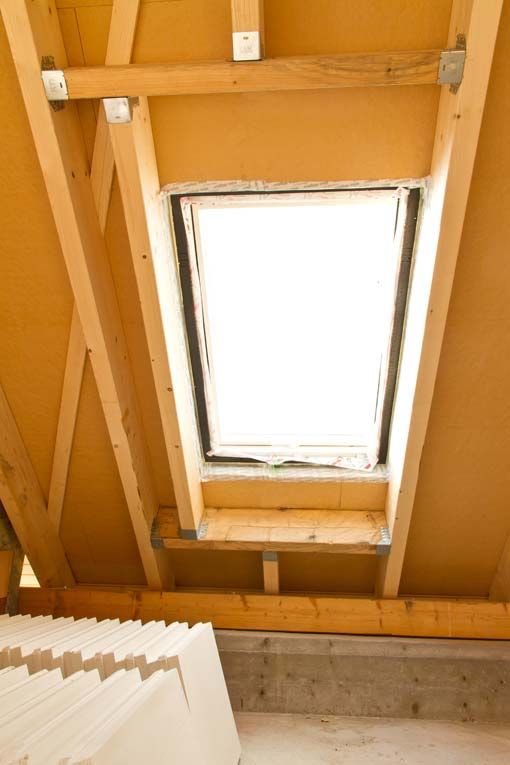
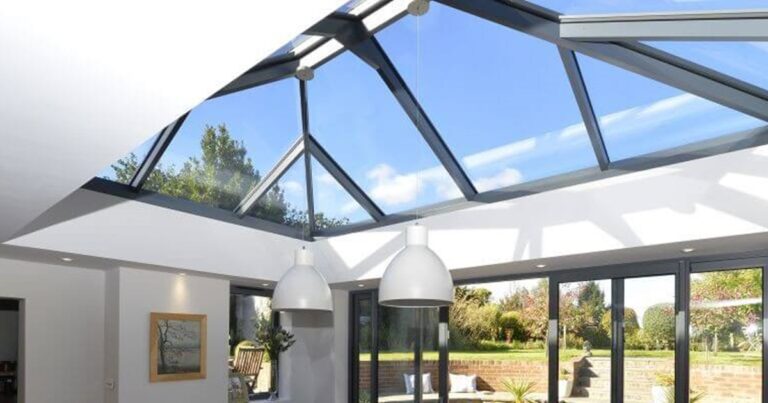
- Ceiling Repair
- Drywall Installation and Replacement
- PAINTING
- House Painting
- Popcorn ceiling removal
- REPAIRING WATER DAMAGE
- Commercial Drywall Contractors
- Handyman Deck Repair
- Stair Repair Service
- Crack Repair Service
- Basement Waterproofing
- Contact
- Gallery
- Locations
- Blog
- FAQ’s