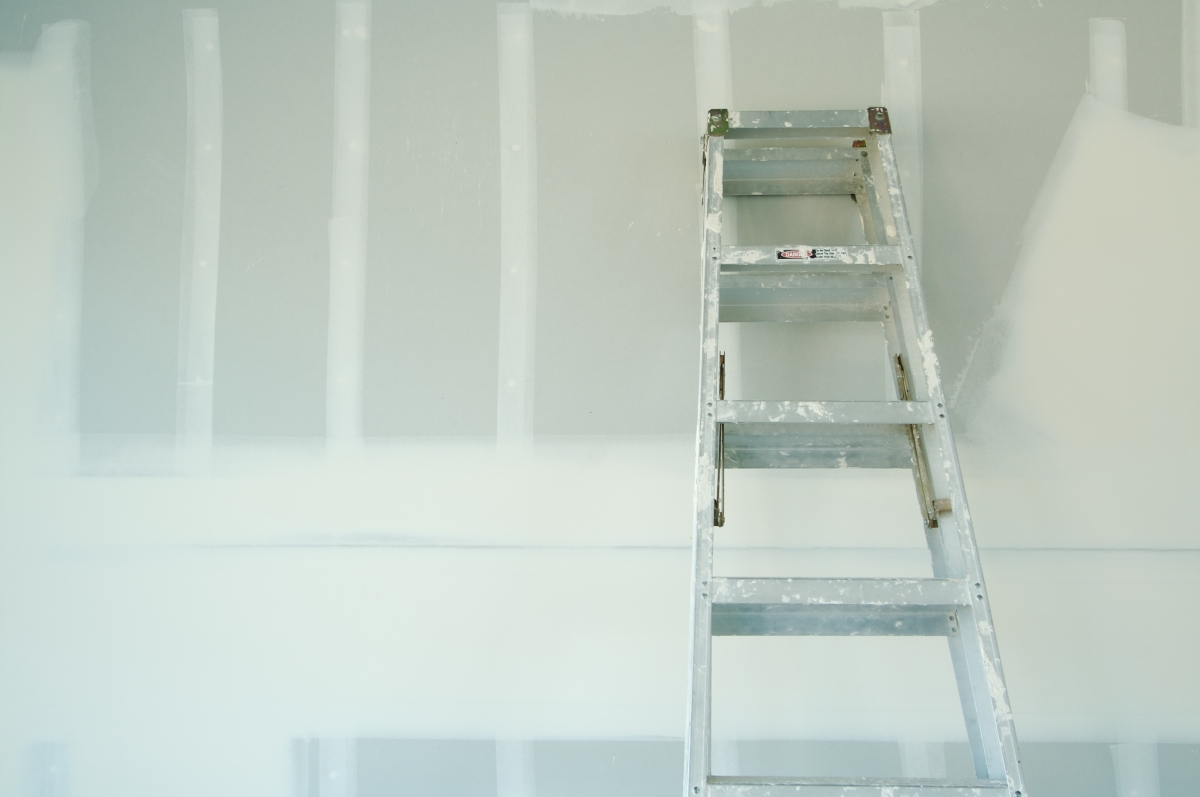
The process of surface preparation is challenging for any drywall work. This article from “300 tips for painting and decorating” by “Alison Jenkins” helps in the wall – Surface preparation, little excerpt from the book for our readers
SURFACE PREPARATION: WALLS
In a perfect world all our walls would be smooth and unblemished, but in reality it’s never that easy. Removal of wallpaper always reveals a few imperfections, and even if you’re simply freshening up old paint, it’s good practice to examine the surfaces carefully and fix any holes or cracks that have occurred through normal wear and tear. There is no doubt that preparation pays; time spent on repairs is never wasted.
HOW TO FIX A HOLE IN DRYWALL:
Minor surface damage can be rectified using standard filling techniques but larger holes that have broken through into the cavity behind the drywall(for example when fixings have been removed or perhaps a mishap while moving large items of furniture) require the application of a backing piece to seal the hole and to prevent the filler from falling into the cavity.
SAFETY FIRST:
Preparing smooth sound surfaces ready for the application of paint or paper inevitably requires lots of sanding, and that means lots of fine dust. In order to prevent dust inhalation, always wear a dust mask and ensure that your working area is well ventilated.
TRY IT:
Use color-indicator filling products. These are pink in color when first applied, and turn white when dry enough to sand. Easy!
1. Cut a drywall patch 1 in (25 mm) longer than the hole and just wide
enough to pass through it. Drill a small hole in the center of the patch with the grey side facing, and pass one end of a 6 in (150 mm) length of
string through it. Tie a large knot in the string at the back of the patch, or
the it around a smart panel nail, to prevent it pulling through.
2. Apply adhesive to the edges of the patch, then carefully pass it through the hole. Adjust the position of the patch so that the hole is covered and there are no gaps. Tug firmly on the string now to press the patch securely against the back of the damaged area. Allow the adhesive to set.
3. Using a joint knife apply a spackling compound to the patched area, and then snip off the string. Fill the hole almost flush whit the surrounding surface. Allow to dry and add a final thin layer to bring the patched area completely flush. Use the flexible blade to smooth the surface as much as possible, then sand to a fine finish with abrasive paper or an electric sander when completely dry.
Patching up: spackling and caulks
There are many patching compounds at the hardware store, but you don’t need them all! This guide identifies there of the most useful and where to use them. Remember all spackling must be allowed to dry completely then sanded down for a smooth finish.
| TYPE OF FILLER | SUITABLE FOR | PROS | CONS | NOTES | |
| Ready-mixed spackling | small surface Imperfections, such as cracks and holes. | 1. Very easy to use. 2. Available in a variety of different-sized tubs. | 1. A soft spreading consistency that dries out slowly. 2. It contracts a little upon contact with air. | Always remember to replace the top or the tub or tube or it’ll harden and be useless. | |
| Powdered spackling | Filling deep holes or cracks, or where lots of filling is required. | 1. Drys quickly. 2. Good value for money | 1. Must be carefully mixed to the cosset consistency by adding water. | You must remember to heap the powder in the box dry, because it will set like rock. | |
| Acrylic caulk | Filling fine or larger cracks that appear between a Walt and base board or around door or window frames. | 1. A flexible acrylic product, usually contained in a large tube or cartridge inserted into a caulk gun with a trigger action. 2. Nozzle may be cut to deliver a particular diameter bead. | Not suitable for rectifying imperfections in large flat surfaces such as walls or ceilings. | May be painted over when dry. You can’t sand caulk when it’s drv. So make sure it’s smooth before it sets. | |
EASY METHOD FOR FILLING HOLES OR CRACKS:
Inadequate ruing and sanding is frequently the cause of poof finished results whether painting or papering. You can be assured that any lumps and bumps that you neglected to smooth away will stand out like a sore thumb when the job is completed. Recite again the DIY mantra “preparation pays”; it really is worth it.
1. Examine all surfaces carefully and identify areas to be filled. Using the Blade of a utility knife or a small chisel and lightweight hammer, rake out any debris or lease surface matter from cracks or holes, then use a paintbrush To remove dust particles. Wet the edges of the damaged area with water in preparation for the spackling.
2. Using a suitable patching compound, apply filling to the crack or hole with the blade of a joint knife. The blade is quite flexible, allowing the patching compound to be squeezed into the crack or hole with a little pressure, and then be smoothed out reasonably flush with the surrounding surface. Don’t be tempted to try this with an ordinary kitchen knife or another substitute; it won’t do the job properly!
3. Allow the patching compound to dry completely before attempting to sand. Sanding is always a time-consuming job, but it is really watch the office you could use an electric sander to start with, but for the best finish, a single sheet of fine sandpaper rubbed on gently by hand will allow you to feel the smoothness of the repair.
Continue Reading about Installing Drywall

