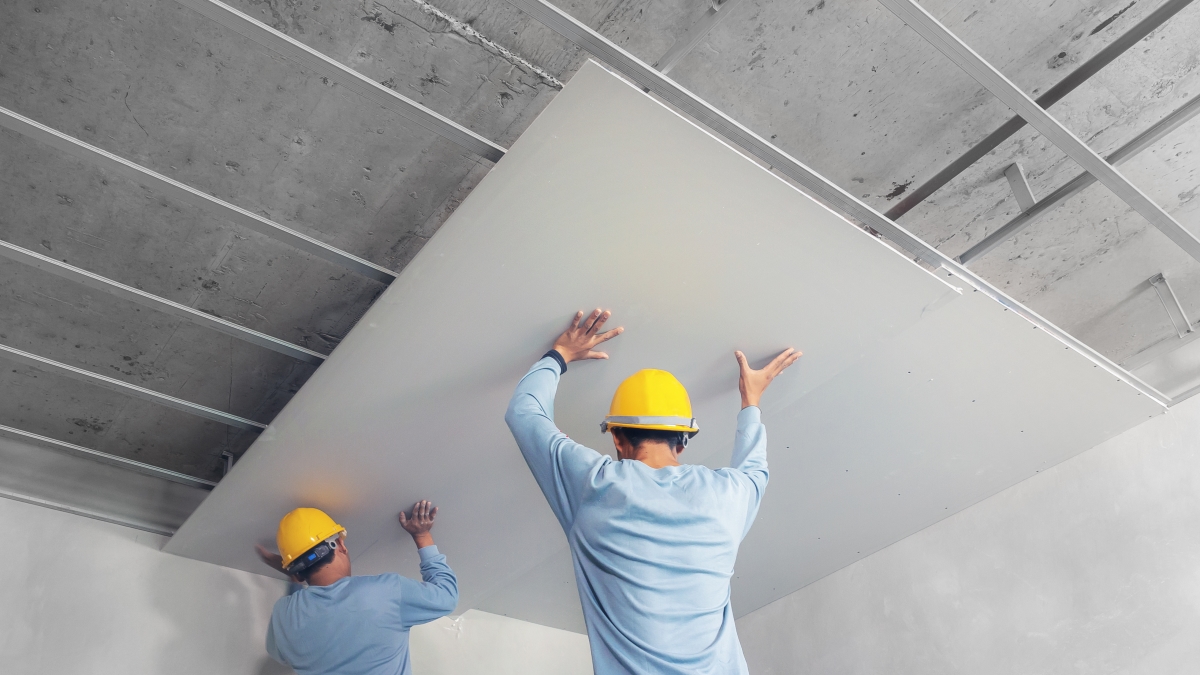
Ceiling repair is a common DIY homeowner challenge, face by thousands of homeowners face. Another Article from “300 tips for painting and decorating” by “Alison Jenkins” about Ceiling repair, little excerpt from the book for our readers

SURFACE PREPARATION: Ceiling Repair
Ceilings the ceiling has to be the most tiring and awkward area to repair, prepare and decorate-mainly because it is high above your head, making access difficult. It may be tempting to ignore it, but when the rest of the room is freshly decorated ceiling imperfections will really stand out. It’s worth making the extra effort to ensure your home looks its best.
A “popped” nail is a fairly common occurrence in drywall ceilings. It is simply a protruding nail head that has worked loose from the overhead ceiling joist and popped through the surface of the drywall. It will look like a small dump, a crescent-shaped crack or a small circle of bare plaster where the paint or drywall has popped right off. Here’s how to fix it and make sure it doesn’t happen again.
YOU WILL NEED
- Nail punch
- Hammer
- Drywall nails or screws
- Filling knife
- Filling compound
- Sandpaper
- Touch-up paint and brush
Dealing with water stains and mold Stains:
Plumbing leaks from overhead pipes can cause staining on ceilings, and this tends to bleed through to new paint or wallpaper. Use a stain-blocking paint before decoding, available in brush and spray form.
Preparing drywall ceilings:
Follow the same surface preparation methods as for walls (see page 54) the only difference is that it’s more difficult as you’ll be up a ladder with your arms above your head. Make sure to work on small areas at a time, and never reach over too far when up a ladder. It’s a tiring job, so try to rest between sessions of activity.
1. Use the nail punch and hammer to re-drive the old nulls on if they are protruding a lot, remove them. Place the cupped point of the nail punch over the popped nail head and tap firmly back into the joist so the head lies just below the surface.
2. To ensure the nails stay put, drive a drywall nail of screw the insist about 2 in (5 cm) either side of the “pop.” Drywall screws will countersink
themselves. If you are using nails, drive nail heads below the surface as
before.
3. Using a filling knife, squeeze filling compound into the surface boles then use the flexible blade to scrape off any excess, bringing the repair flush with the surrounding ceiling.
4. When the filler is completely dry, sand smooth and apply a coat of touch-up paint to match the original.
ADDRESSING PEELING PAINT:
In high humidity areas such as kitchens and bathrooms ceiling paint may begin to peel and flake. This is usually due to poor initial application, but can be remedied by rubbing down the old paint, and re-painting the surface with a good-quality, stain-blocking primer. Repaint with specially formulated bathroom and kitchen paint when the primer coat is dry.
REPAIRING LATH AND PLASTER CEILINGS:
Older houses are constructed with lath and plaster ceilings. Thin battens or laths are nailed to the ceiling joists then covered with a layer of plaster. How a hole is filled will depend on its size. First coat exposed laths with PVA adhesive to promote filler adherence, then fill with plaster. If the laths are broken and the hole is less than 3 in (76 mm) across, simply scrunch up some newspaper to pack the hole, then fill with plaster. For holes more than 3 in (76 mm) across, use the following method.
YOU WILL NEED
- Old paintbrush
- Safety goggles
- Dust mask
- Tin snips
- Expanded metal mesh
- Bolster chisel
- Hammer
- Plaster filler
- Plaster float
- Sandpaper
1. Use an old paintbrush to remove any dust and debris from the areas to be repaired, wearing safety goggles and a dust mask.
2. If the laths are damaged, use tin coils to trim the expanded metal mesh to size. The mesh will create a backing for the filler. Fit the mesh in place by curling the edges around the back of the laths.
3. Use a bolster chisel and hammer to undercut the edges of the hole so that the plaster will have a better grip. Do this gently to avoid further damage. Once again, use the old paintbrush to remove any debris.
4. Place plaster filler onto a float and push it up into the repair until it is flat against the ceiling, forcing the filler through the holes in the mesh; slide the float over the repair. Scrape off as much excess truer as you can and if necessary sand smooth when the filler is dry.
At Flex drywall repair Herndon, Reston, VA, we have a culture of excellence and delivering the best quality wall repairs with a touch of perfection. Continue reading about Popcorn Ceiling Removal

