
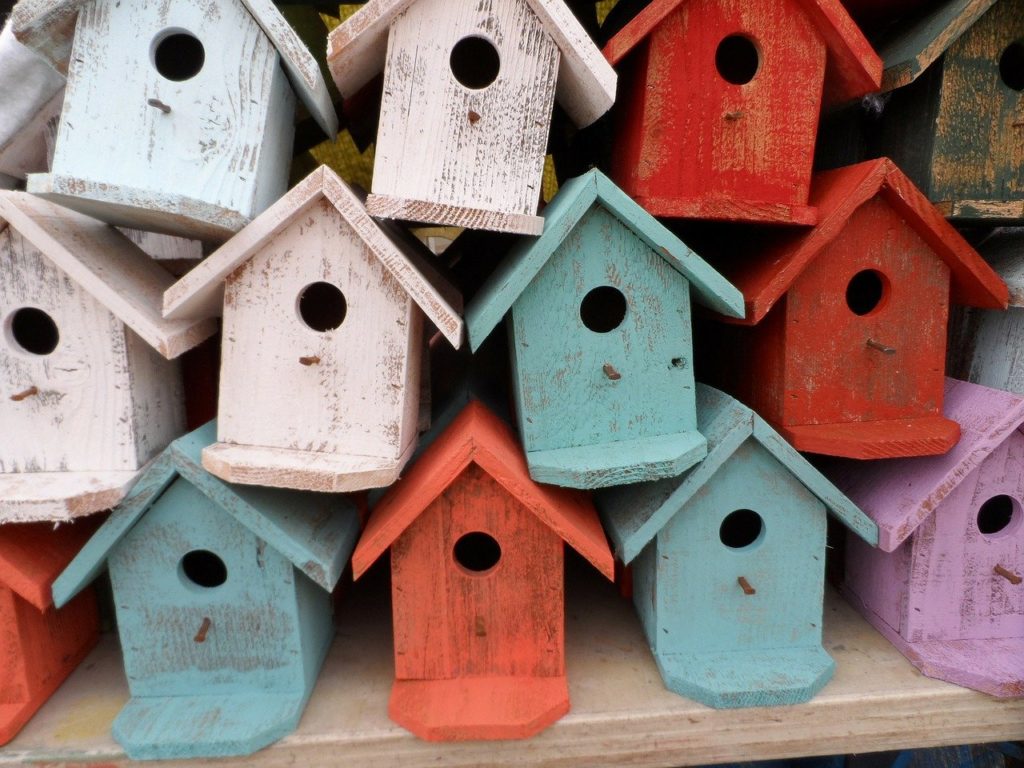
Here is an interesting article about how to build a bird house form “THE BIRD HOUSE BOOK“, excerpt from the book for our users.
SAN FRANCISCO ROWHOUSE
Though it’s really no more complex than the Haunted Bird House or the colonial Townhouse, this project’s small scale results in the finest detail work of any in this book. But before you flip the page in panic at the thought of trying to saw 1/16” stock on a table saw, remember that all the tiny components in this house are available at craft and doll-house supply stores. Thus, building a row house of your own liking is more a matter or imaginative layout and pinpoint gluing than precision saw work.
Set up especially for bluebirds, but commodious for chicadees as well, the 5”x5” floor plan is enclosed in a mitered 6-1/2”-square, 10”-hight, ¾”-plywood cylinder. On top goes a slightly oversized 7”-square roof to help emphasize the corbeling. Pick one side as the front and bore a 1-1/2” entry hole, centered 6-3/4” up and 1-3/4”from the left edge.
To form the bay windows, rip a 2-1/2”-wide, 12”-long piece of 1x, tilt the table saw blade 30o, and bevel both edges. From this stock, cut one piece 1”long and another 10” long. Glue and nail the longer one to the front of the house, so its right edge is 3/8” in from the right wall of the house. Above it, on the ¾” plywood roof overhang,, attach the 1” segment of beveled stock.
Before tackling the detail work on the bay windows, let’s work on the front porch and balcony. From the bottom, building upward, the porch is a 1-1/2”x2-1/2” piece of 1x with 3/8” steps. Serew it to the front wall from the inside, set in 3/8” from the left wall. The front door is 1-1/4” x 2-3/4” tempered hardboard, with 7/8” squares of 1/16” doll house stock for panels. A copper nail, not quite set, does a good imitation of a door knob while helping to hold things together. Door casings are ¼” stock, mitered at the corners.
We used turned doll house porch posts cut down to 2-3/4” to support the balcony. That part, however, is rendered from a piece of pine that started out as a 1-3/16” x 2-1/2” block. First, set the saw blade to 45o and a height of ¾”. With the rip fence set 9/16” from the base of the blade, run a 1-3/16” x 2-1/2” face through in both directions to remove a V on the underside of the balcony Next, return to vertical, mount a ¾” dado, set its depth to ¾”, and readjust the fence to keep it 9/16” from the cutting edge. Run the side of the stock opposite the V through in both directions to remove a total width of 1-3/8”. Leaving 9/16” on each side. Now, turn the stock so the V notch is up and running perpendicular to the blade, and run the wood through the saw again. Then flip it, keeping the same face against the fence, and repeat. To finish the balcony, lower the dado to a height of 1/8”, and repeat are revealed. Mount the finished piece 3/8” from the left wall, so its floor is 5” up.
Two more 2” posts support the triangular balcony roof. That piece is an isosceles right triangle of 2x lumber with a 2-3/4” base. Center it on the posts and run a screw in from behind. Then add the bevelled 3/16” x 1-12” x 2-1/2” roof panels.
At this point, you can start to add trim. If you happen to have a power miter box this would be a great time to get it out. Otherwise a hand miter box, table saw, or radial arm saw will do. From the top, there’s ¾” mitered cove molding attached to the edge of the roof, and then ¼” quarter-round just below it. The other two bands that go all the way around the house are ¾” shelf edge molding.
From here you can take the detail as far as your fancy leads you. We’ll briefly describe what we’ve done to give you some ideas. Bear in mind that all of the following components came from a craft store, and there’s even more there to choose from. The nay windows were all assembled piece-by-piece from 1/16” thick material; the window frames are 1/8” wide, while the sashes are 1/16”; the panels above and below are ¾” square. Mitered ¼” quarter-round sits right above the upper windows. The sits below both are n3/16” half-word ornamentation on the balcony includes ¼” quarter-round over the V, and ¼”-square railings mitered together.
Copper protects the flat roof of our row house. This can be effectively formed in place. Cut out the shape of the roof, adding ¼” all around. Lay it onto the roof and begin to fold the edges over. At the outside corners, slit the copper with snips so it can overlap; snip it at inside corners so it can open slightly. Once you get the copper overlapped evenly and squarely, tack the edges to the plywood with copper brads.
Because of the trim around the foundation of the house, it would be difficult to inset a floor. Therefore, we suggest you screw a be to the house from underneath, so it removed for cleaning. Otherwise, consider dividing the back wall in half horizontally (with a bevelled cut) and screwing the lower portion in place so it can be removed. Likewise, a few ventilation holes height in the back would probably be welcomed by the occur pants.
In the end, the tiny details of this house as what set it apart-they are the accomplishment. With this “how to build a bird house?” guide, you can build many bird houses as needed.The only problem is: Who wants to set this house out next to a pasture on a fence-post far from admiring eyes?
Continue reading about FENESTRATION